
Run an inventory count
Use this to count stock in the Inventory app. When you submit, the on-hand of every product you counted is set to what you counted.
-
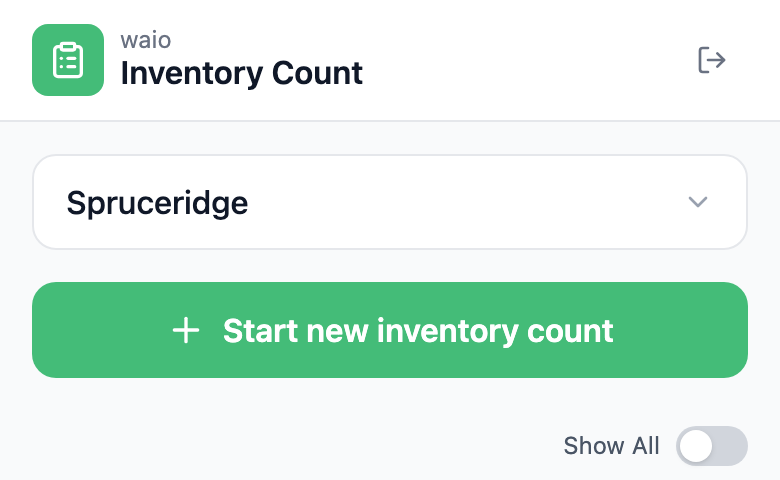
In the portal menu, open Inventory and click New Inventory Count. The Inventory app opens in a new tab.
-
The first time on a device, type your company’s server name (the part before
.waio.app) in Server and tap Connect. Sign in with your portal username or email and password, then pick your store. If it says No stores assigned to this account., ask a manager for the Inventory Counts & Adjustments permission. -
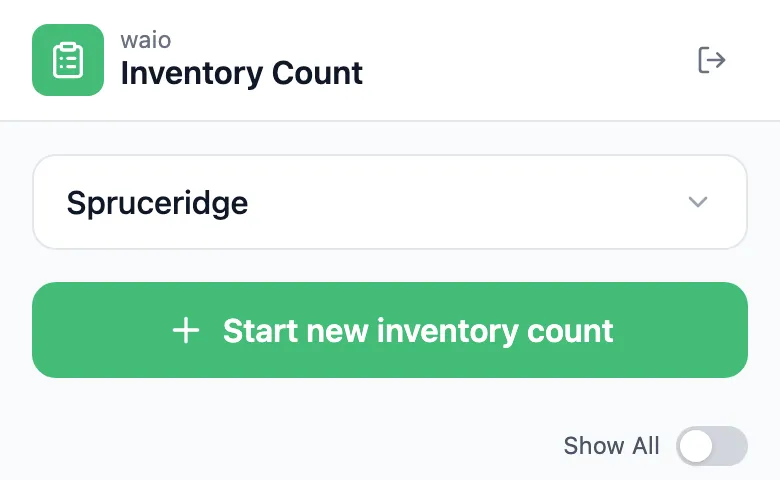
Tap Start new inventory count.
-
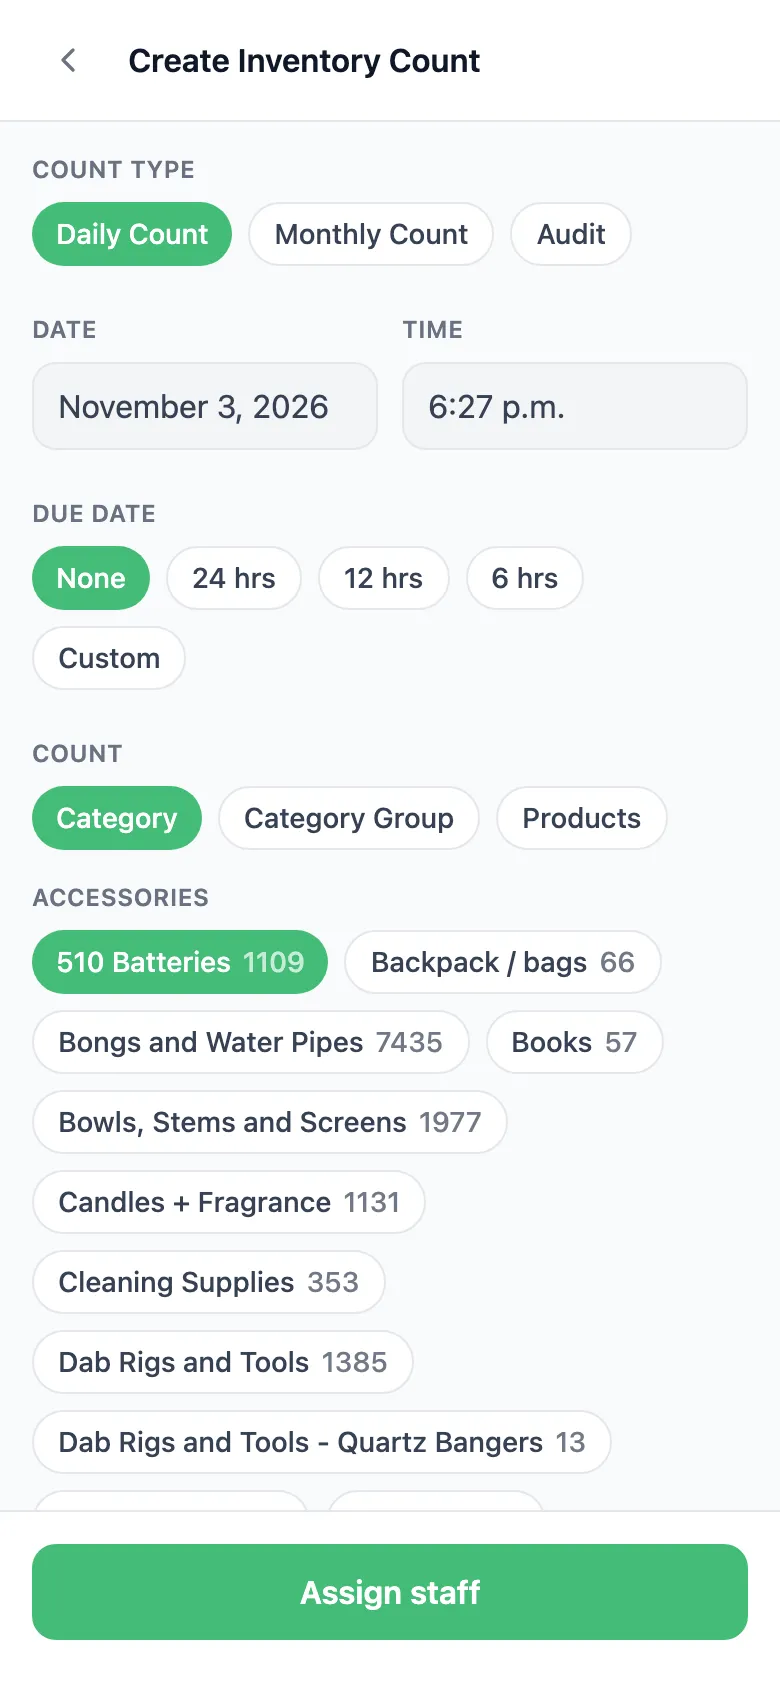
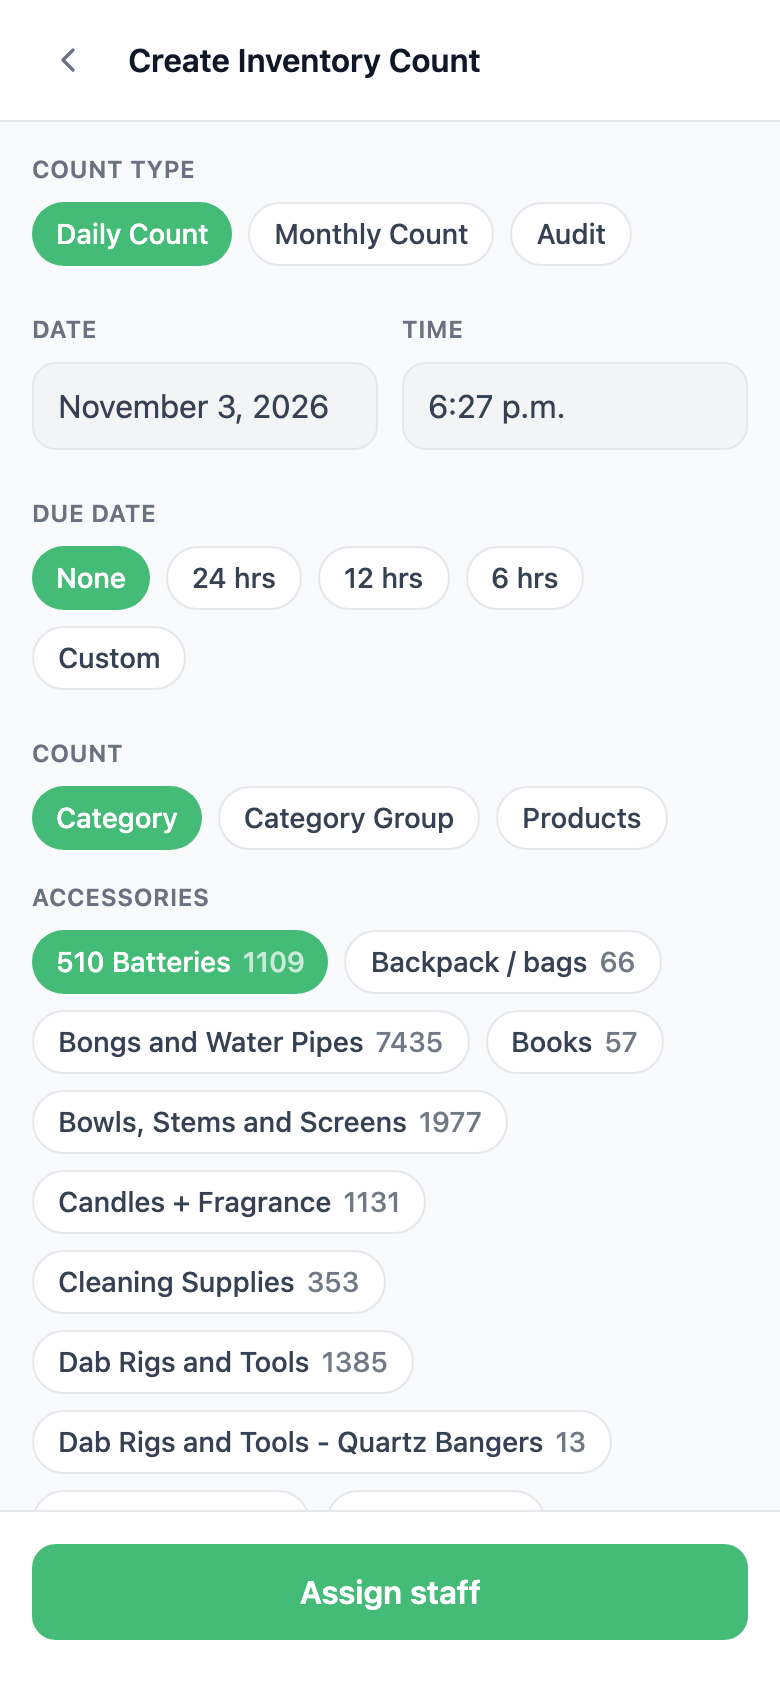
Pick the Count Type: Daily Count, Monthly Count or Audit. Set a Due Date if you want one. Date and Time are set to now and can’t be changed.
-
Under Count, pick what to count:
- Category or Category Group: tap each one. The number on it is how many of its products the system shows in stock at this store.
- Products: the count starts empty, and you scan or search for each product you want to count.
-
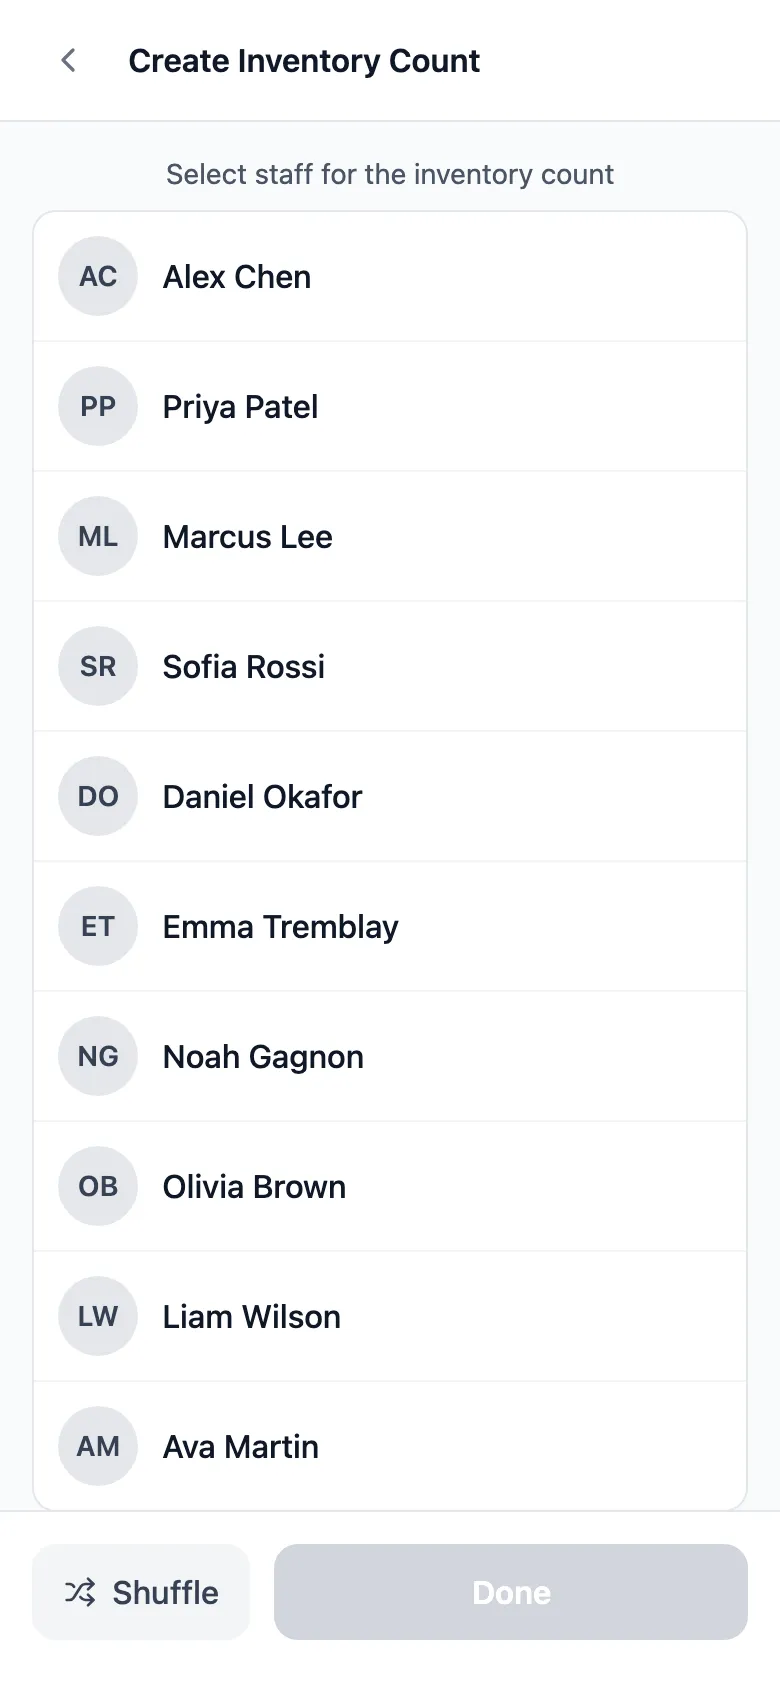
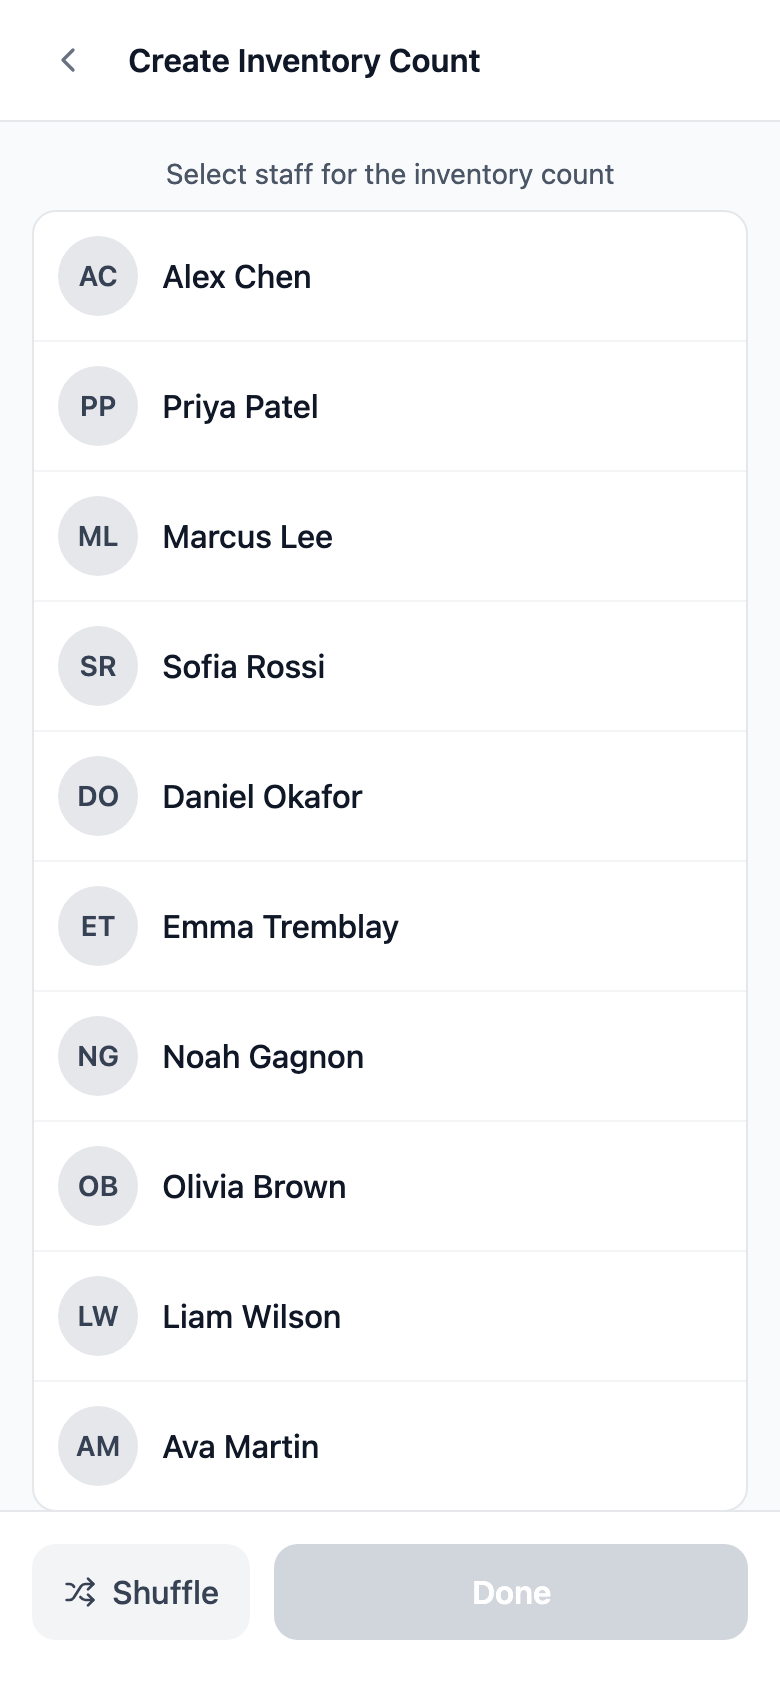
Tap Assign staff, tick each person who is counting, and tap Done. The count is created, and anyone with an email address gets one with a Start Count link. To split the products between people, turn on Advanced Settings, then Assign % Count to Staff. The percentages must add up to 100.
-
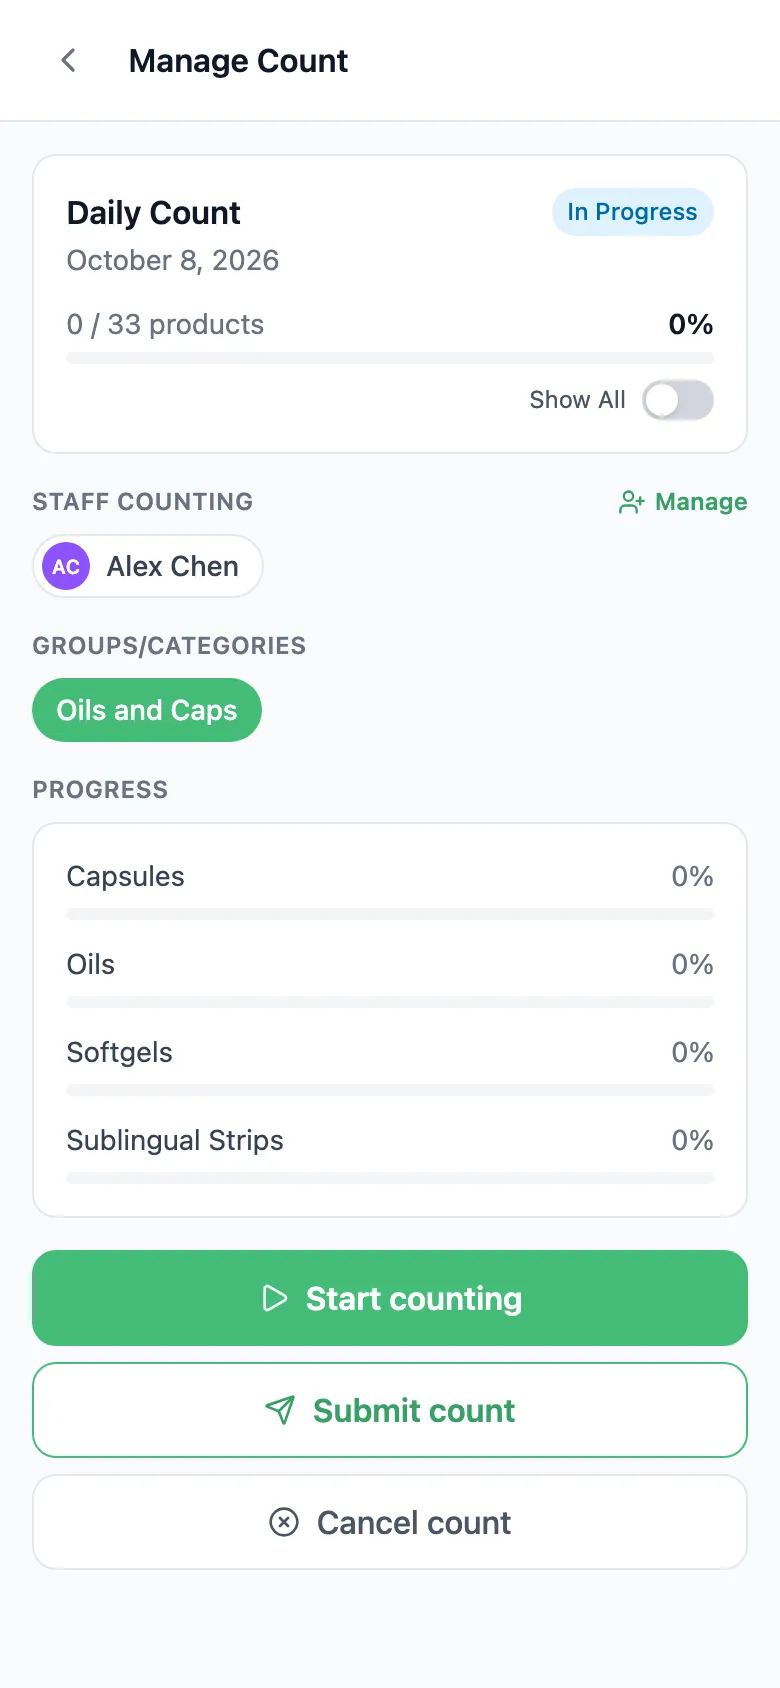
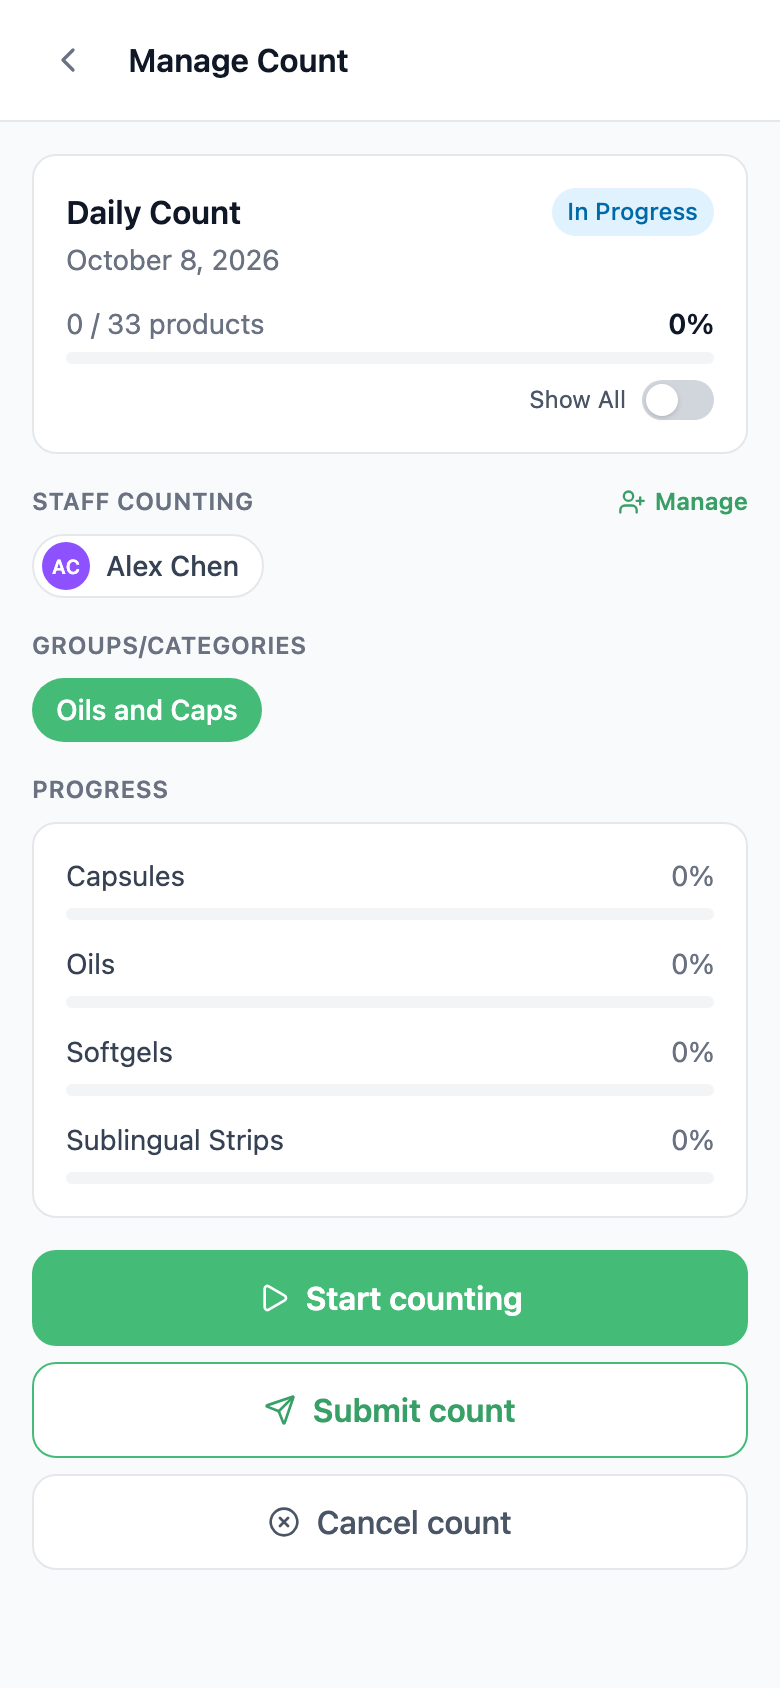
Tap Start counting.
-
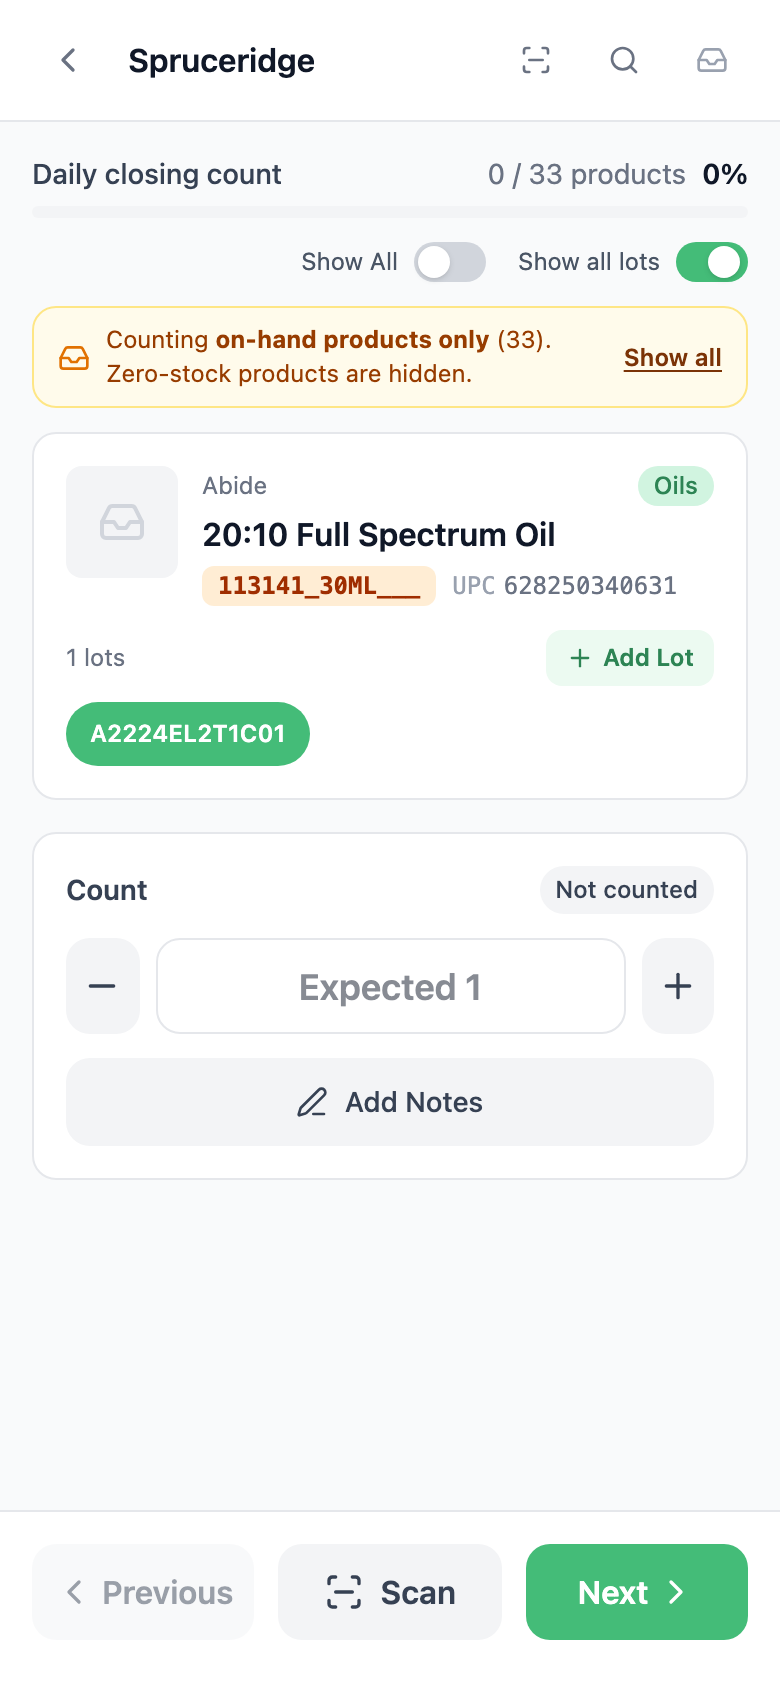
Find the product in the list, or tap Scan and scan its barcode. You can also type a name, SKU or barcode in the scanner and tap Find. A scan opens the product. It doesn’t add 1.
-
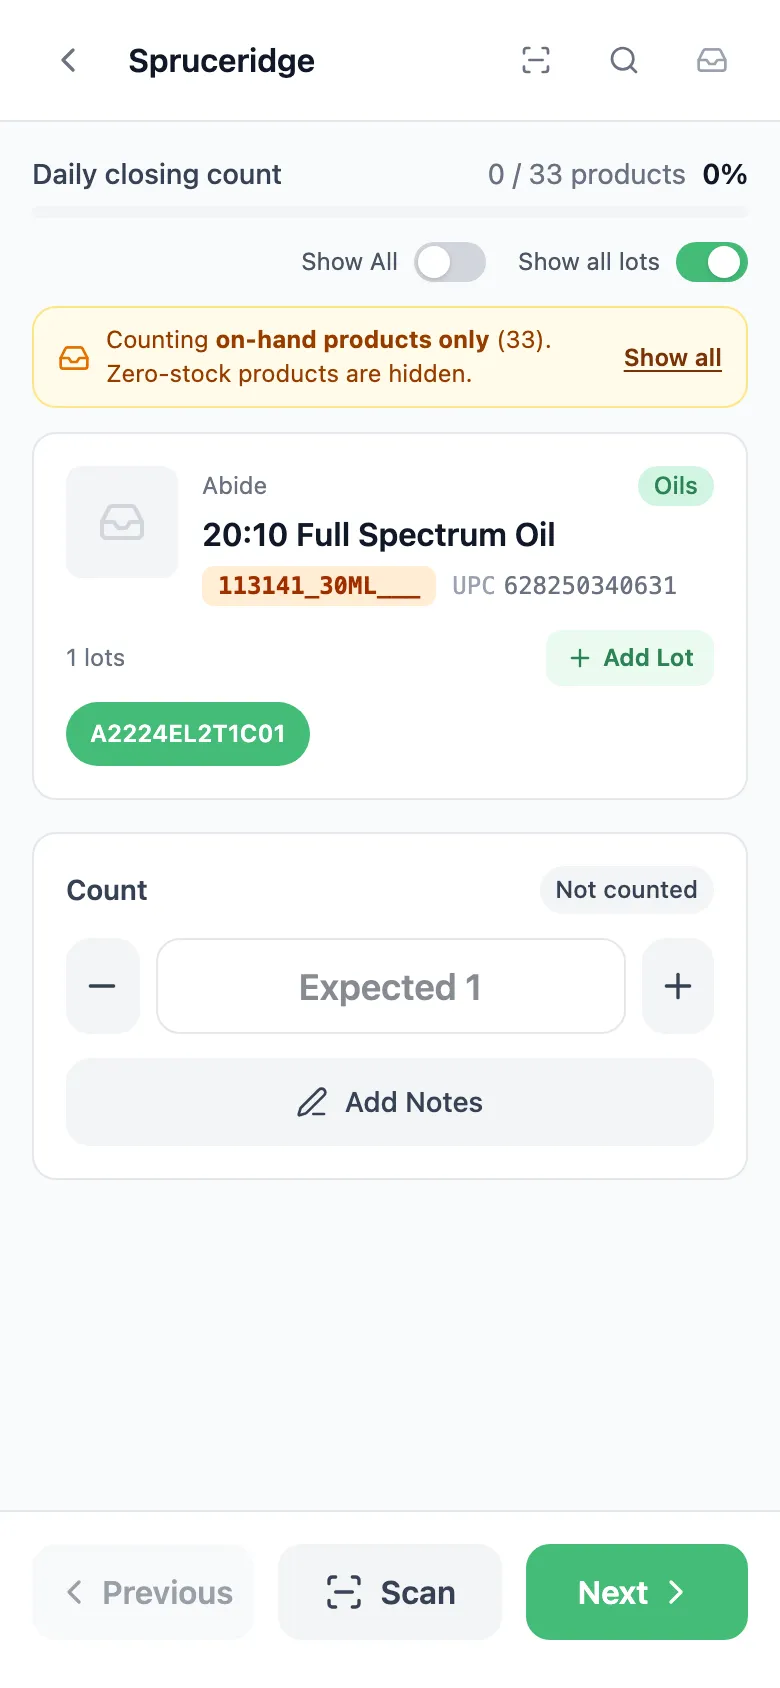
Enter what’s on the shelf:
- Product with lots: tap each lot and enter its quantity. Tap Add Lot for a lot that isn’t listed.
- Product without lots: enter the total.
The grey Expected number in the box is a hint, not a count. Enter 0 if there are none. Your entry saves on its own and Saved shows next to Count. If Save failed shows, tap Retry.
-
Tap Next. The product is marked counted and the next one opens.
-
After the last product, tap Finish & review count.
-
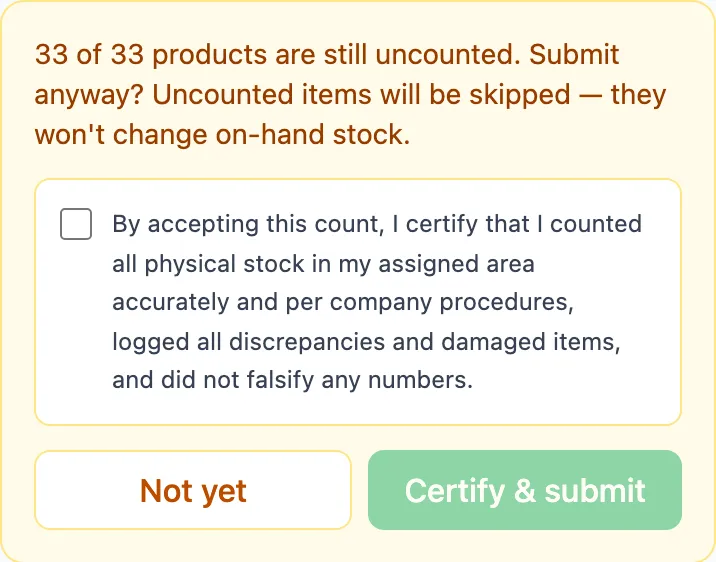
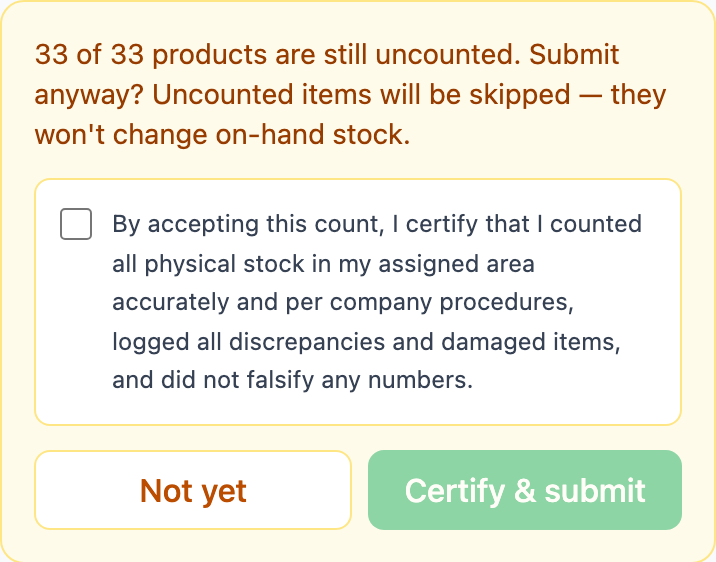
Tap Submit count, tick the box, and tap Certify & submit.
Stock updates in the background. When it’s done, the count shows Complete under Recent counts. If it still shows In Progress, submit it again.
Good to know
Section titled “Good to know”- By default only products with stock are listed. Turn on Show All to count the rest.
- A product you leave blank keeps its on-hand. But once you enter one lot of a product, every other lot of it you left blank is set to 0.
- A Complete count can’t be reopened. To fix a product, count it again in a new count. Cancel count closes an open count without changing stock.