
Manage customer groups
A customer group sets what everyone in it pays and whether they earn points. Move one customer from their profile, or several at once from the list.
Move a customer to another group
Section titled “Move a customer to another group”-
Find the customer and click their name.
-
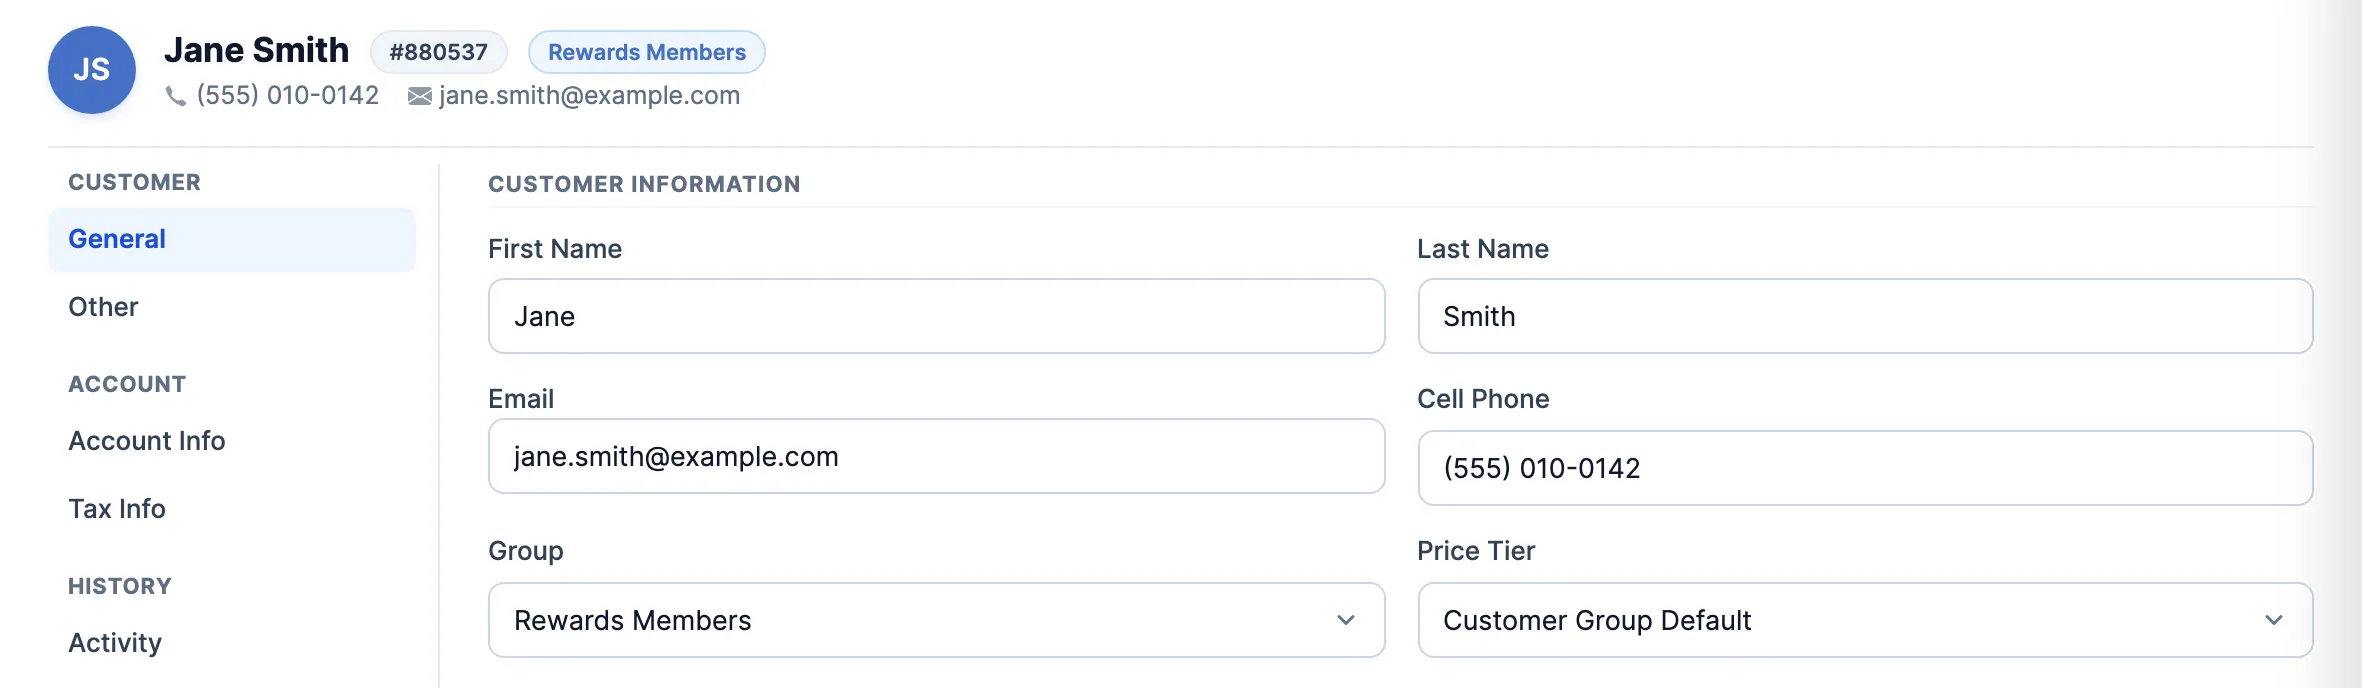
On General, pick the new Group. Leave Price Tier on Customer Group Default so the group’s pricing applies.
-
Click Save Changes.
Move several customers at once
Section titled “Move several customers at once”-
In Customers, search or use the filters so the list shows the customers you want.
-
Tick each one in the last column. The box in the header ticks the whole page.
-
Click Update 1 item (the number counts your ticks), then Group.

-
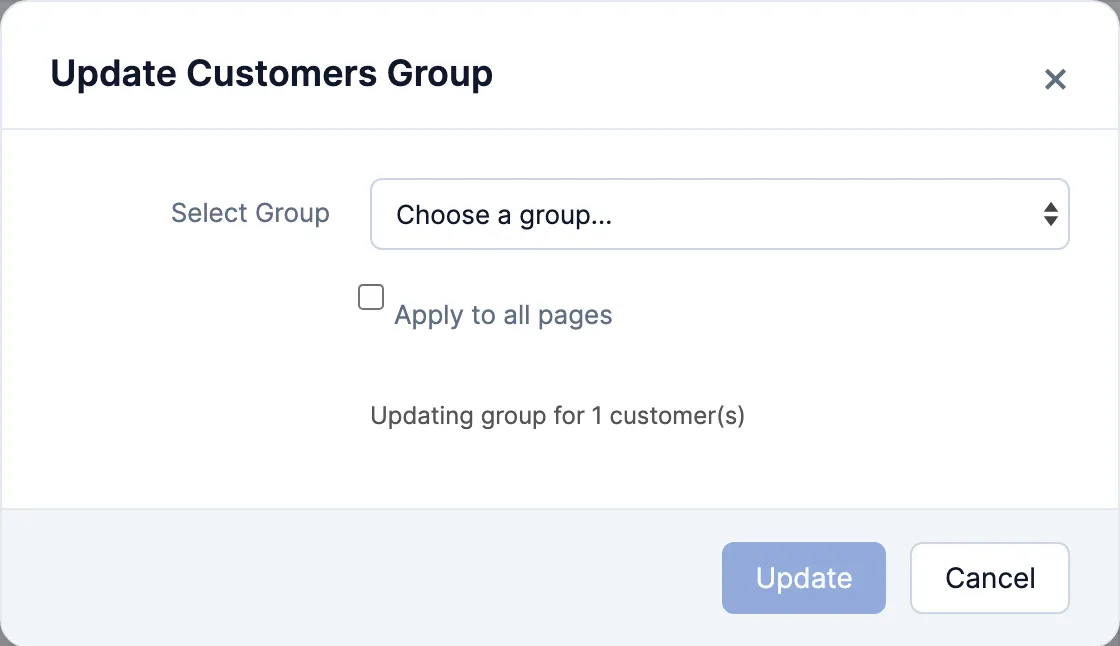
Pick the group in Select Group and click Update.

Change what a group does
Section titled “Change what a group does”-
In the menu, under Customers, click Customer Settings. It opens on Customer Groups.
-
Click the group’s name, or Add Customer Group for a new one.
-
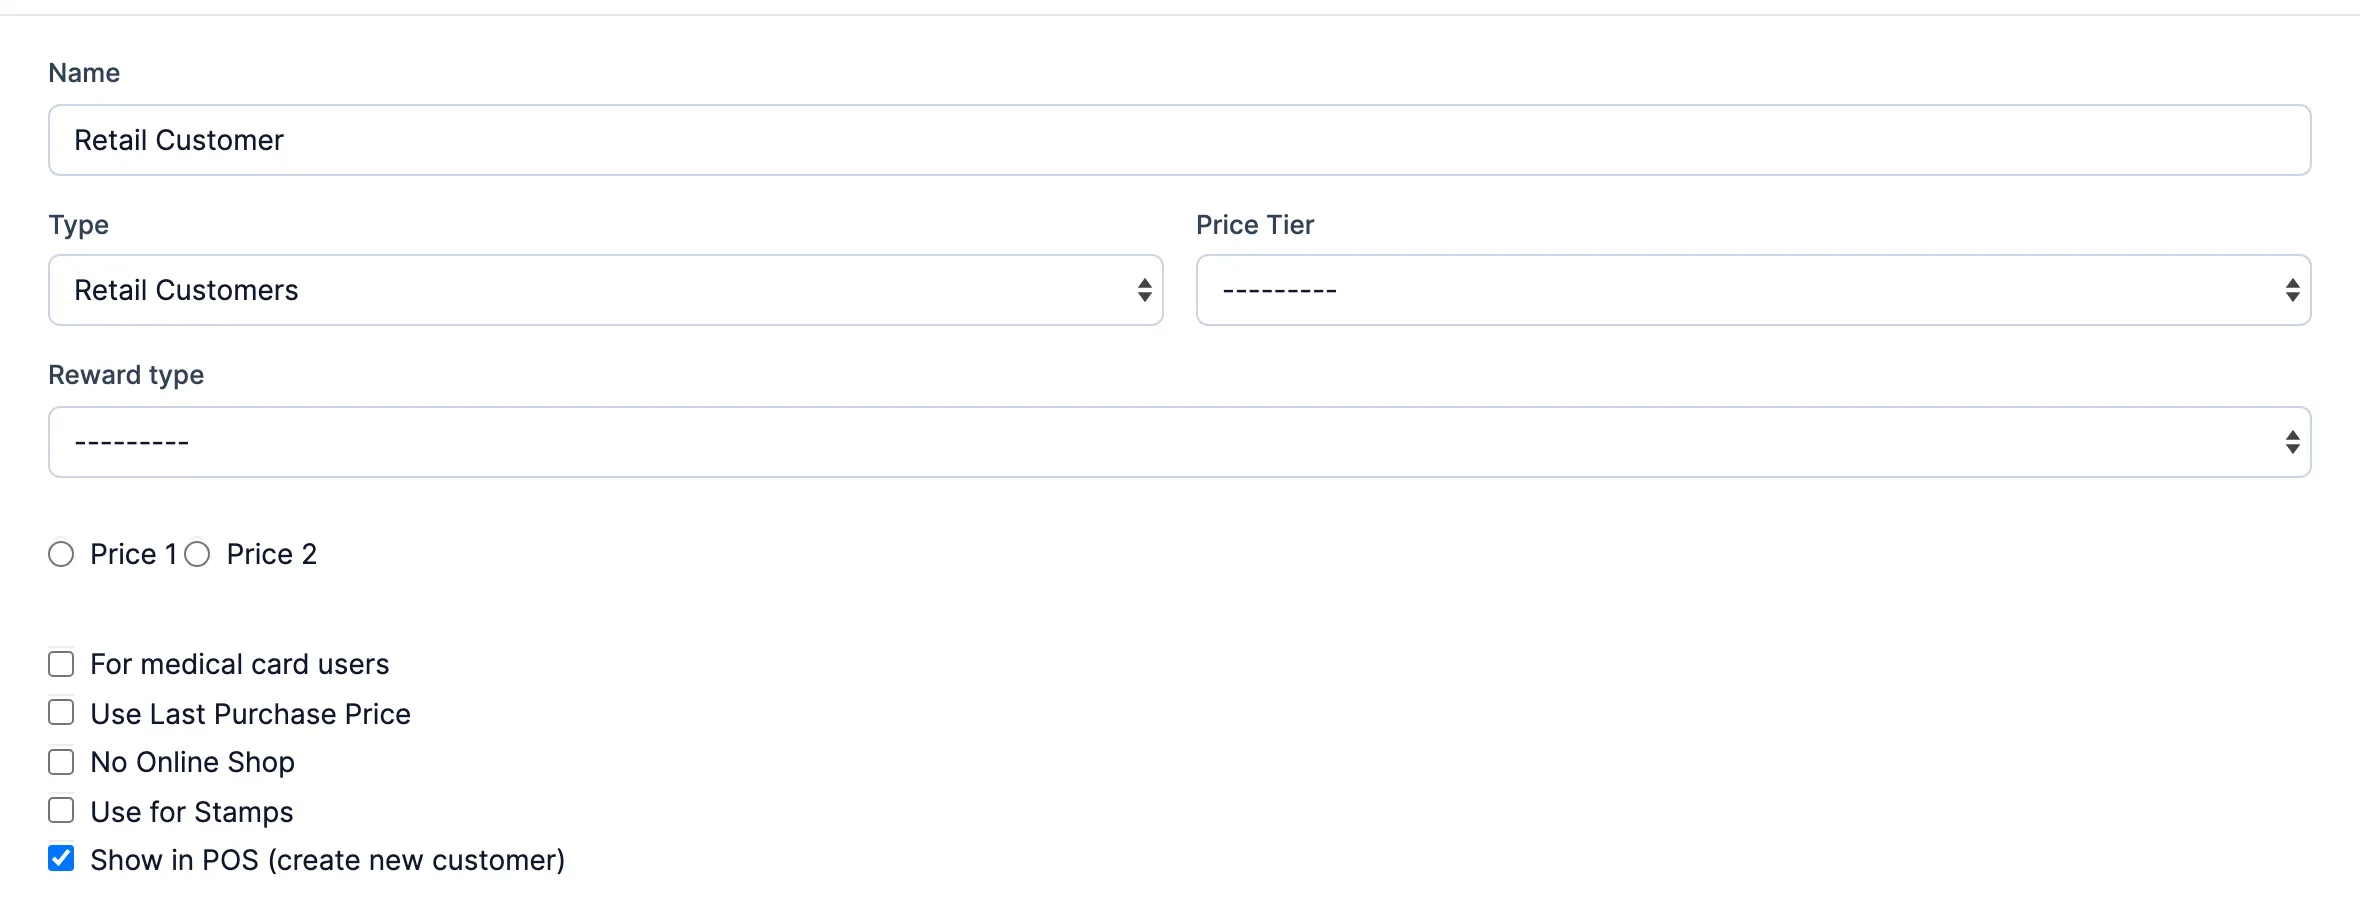
Set what the group controls:
- Price Tier: the pricing everyone in the group gets, unless their own Price Tier is set to something other than Customer Group Default.
- Reward type: Points if the group earns loyalty points. Left blank, their points total stays at 0.
- Price 1 or Price 2: Price 2 charges each product’s Price 2 where it has one. You’ll only see these if your stores use two prices.
- Show in POS (create new customer): staff can pick this group when they add a customer at the register.
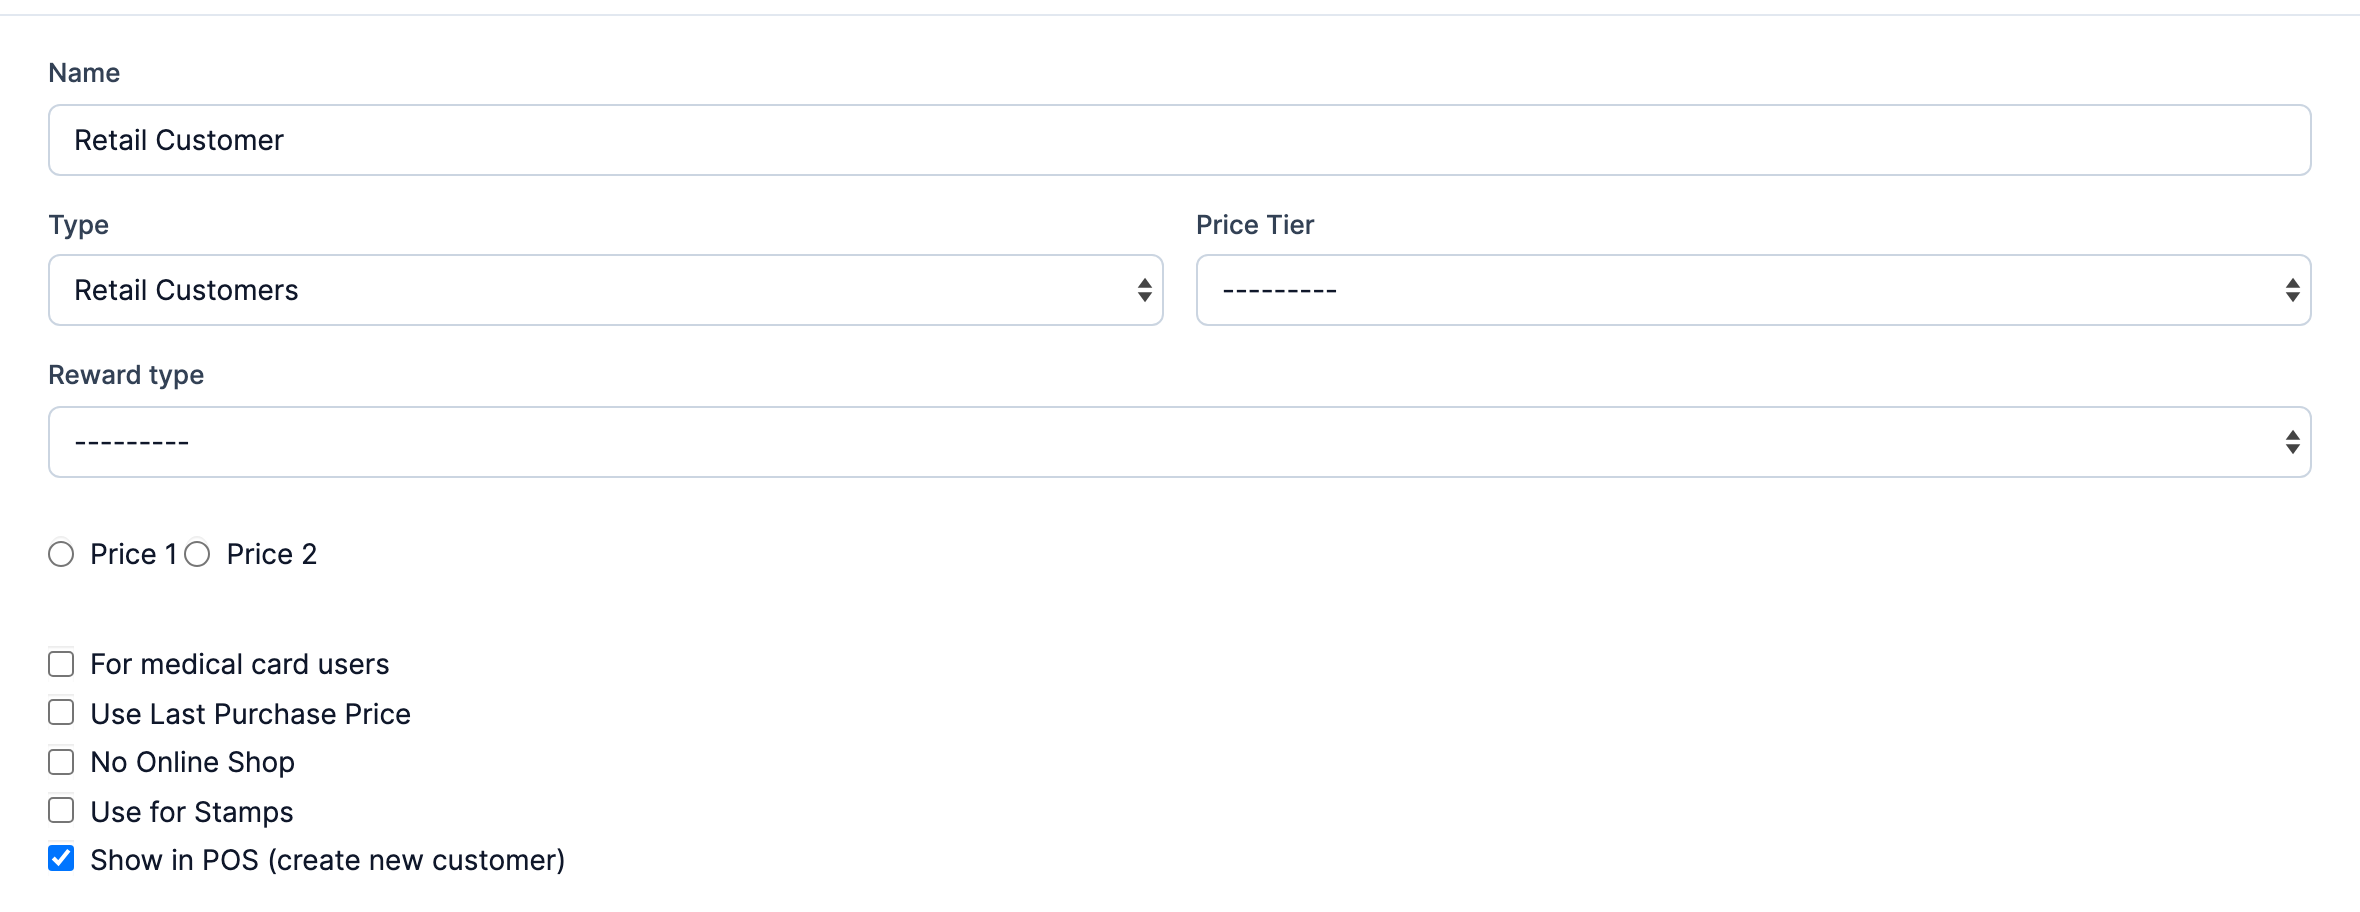
-
Click Save changes.
To put a sale on for some groups only, tick them under Customer Groups on the discount schedule.
Good to know
Section titled “Good to know”- Leave Apply to all pages off. Tick the customers you want on each page instead.
- Changing the customer on a POS sale to someone in another group clears any discount you typed in by hand. Add it again if it still applies.
- A customer’s own Price Tier on General beats their group’s.