
Fix a receipt printer that isn't printing
Use this when a register finishes sales but nothing comes out of its receipt printer. If only the card terminal’s own slip is missing, check the paper roll in the terminal instead.
Check the printer
Section titled “Check the printer”- Open the lid and check the paper roll isn’t empty and feeds the right way. Close the lid firmly. A printer with its lid ajar won’t print.
- Check the power light is on. Unplug the USB or network cable at both ends and plug it back in.
- Run the printer’s self-test: turn it off, then hold Feed while you turn it back on. If a test page prints, the printer is fine and the problem is between it and the register. If nothing prints, the printer itself is faulty.
Reprint from the POS
Section titled “Reprint from the POS”-
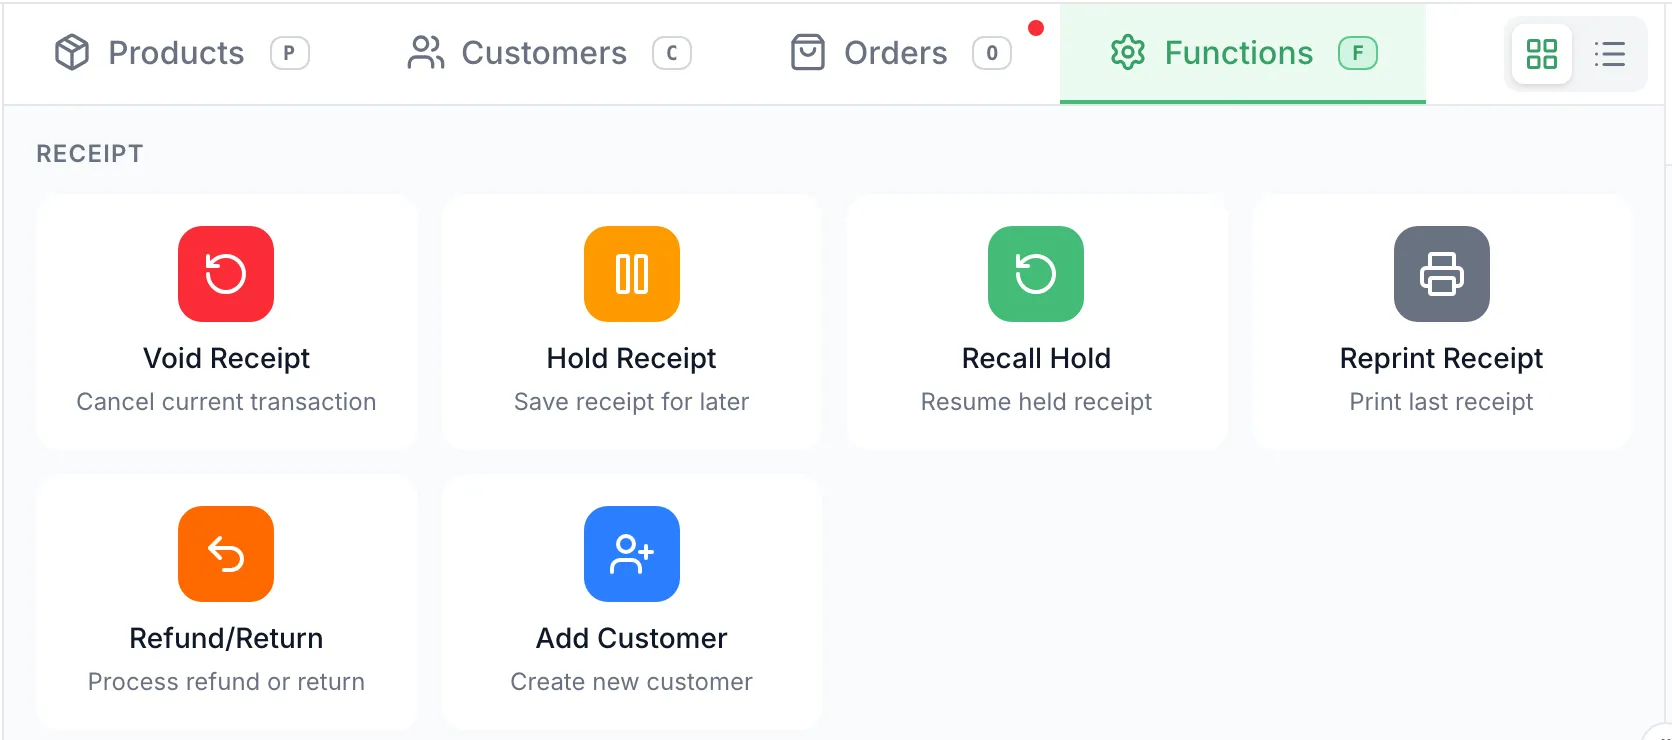
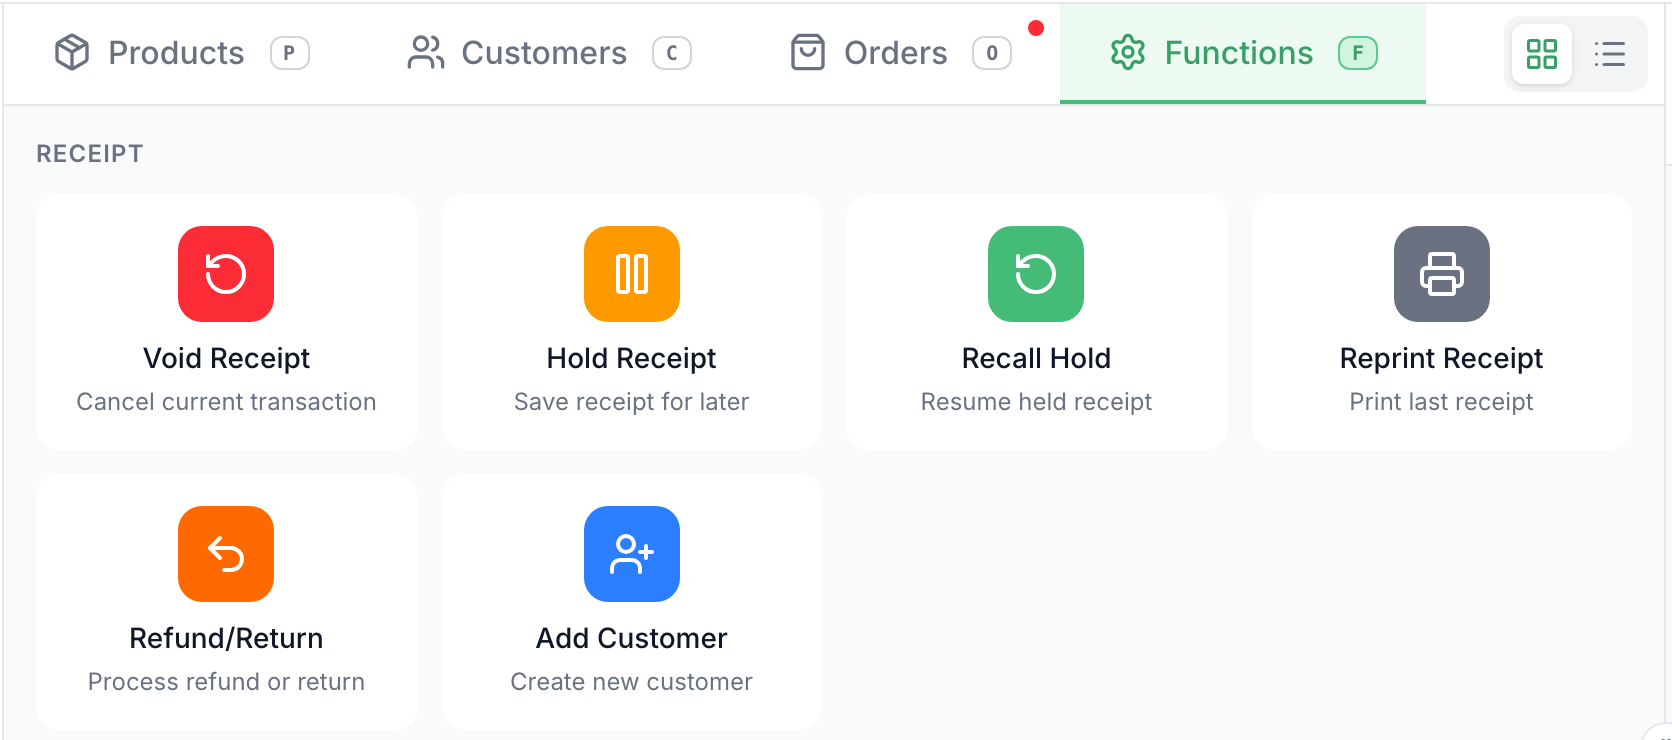
Open Functions and tap Reprint Receipt. It reprints the last sale finished on this register.
For an older sale, open Orders, open the sale and tap Print.

-
Read what the POS says:
- Print Failed on a register that prints Local (step 7): the print service on the register’s computer didn’t answer. Restart that computer.
- Receipt Sent but no paper: the POS handed the receipt over. Check the printer again, then the register’s settings (step 8).

Sales finish without printing, but a reprint works
Section titled “Sales finish without printing, but a reprint works”-
In the portal, open the gear menu (top right), then POS Settings > Setup > Print / Receipt. Set Receipt end action:
- Print receipt: every sale prints by itself.
- Show Menu: after each sale the POS shows a Print Receipt button, and nothing prints until staff tap it.
- Print + Menu: works the same as Show Menu.
- Do Nothing: nothing prints and there’s no button.
Click Save Changes. It applies to the store you’re signed in to. A manager can also change it on the POS: Functions > Settings (manager PIN) > Receipt end action, then Save Settings.
Check the register’s settings
Section titled “Check the register’s settings”-
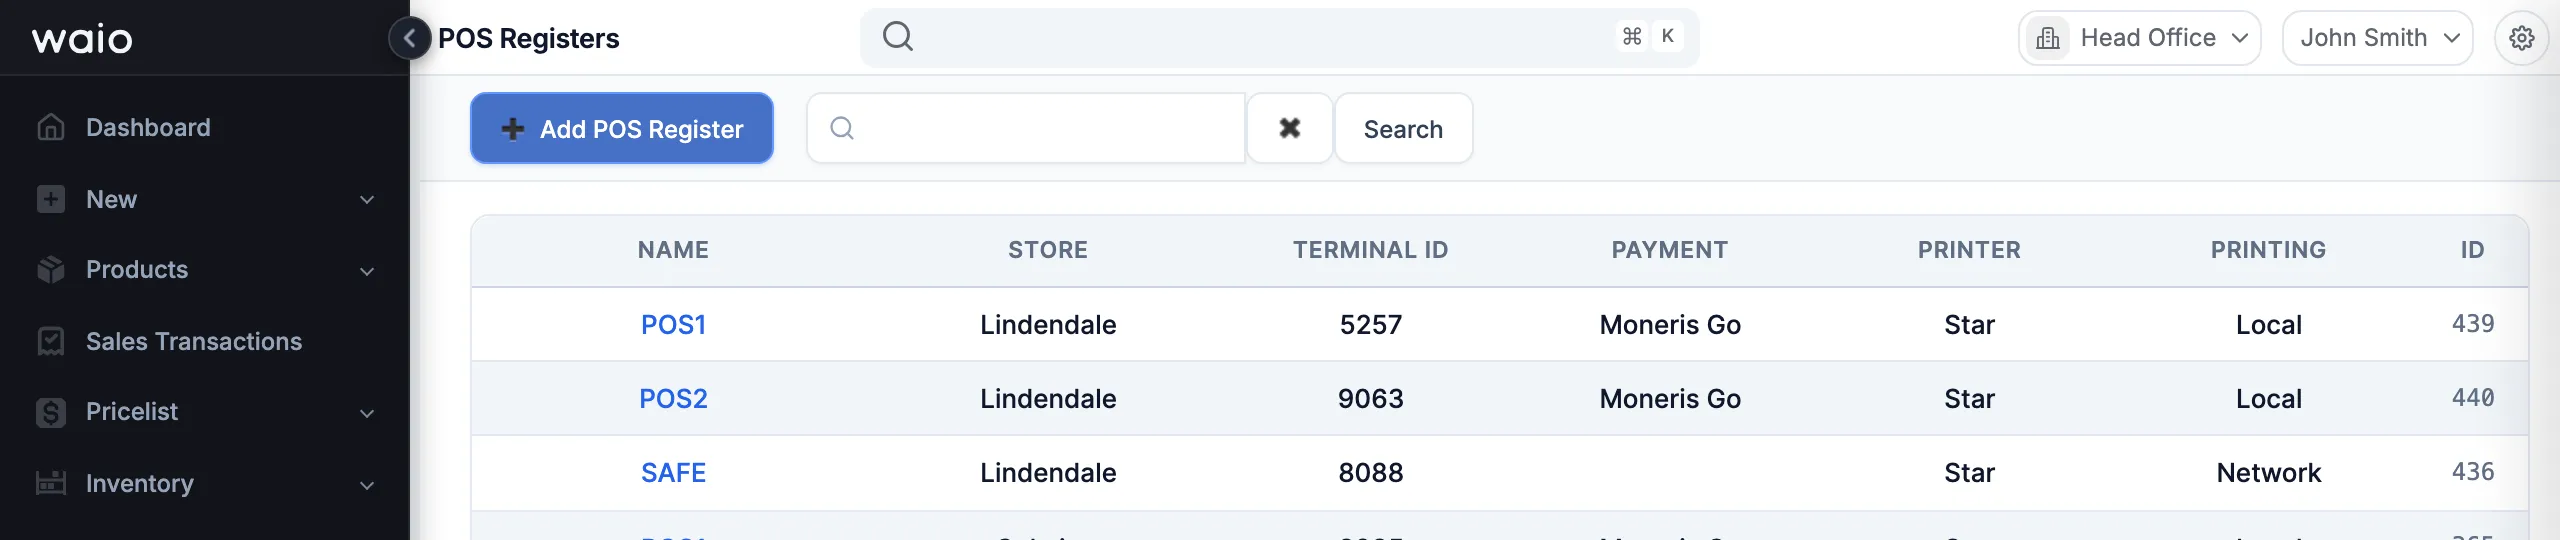
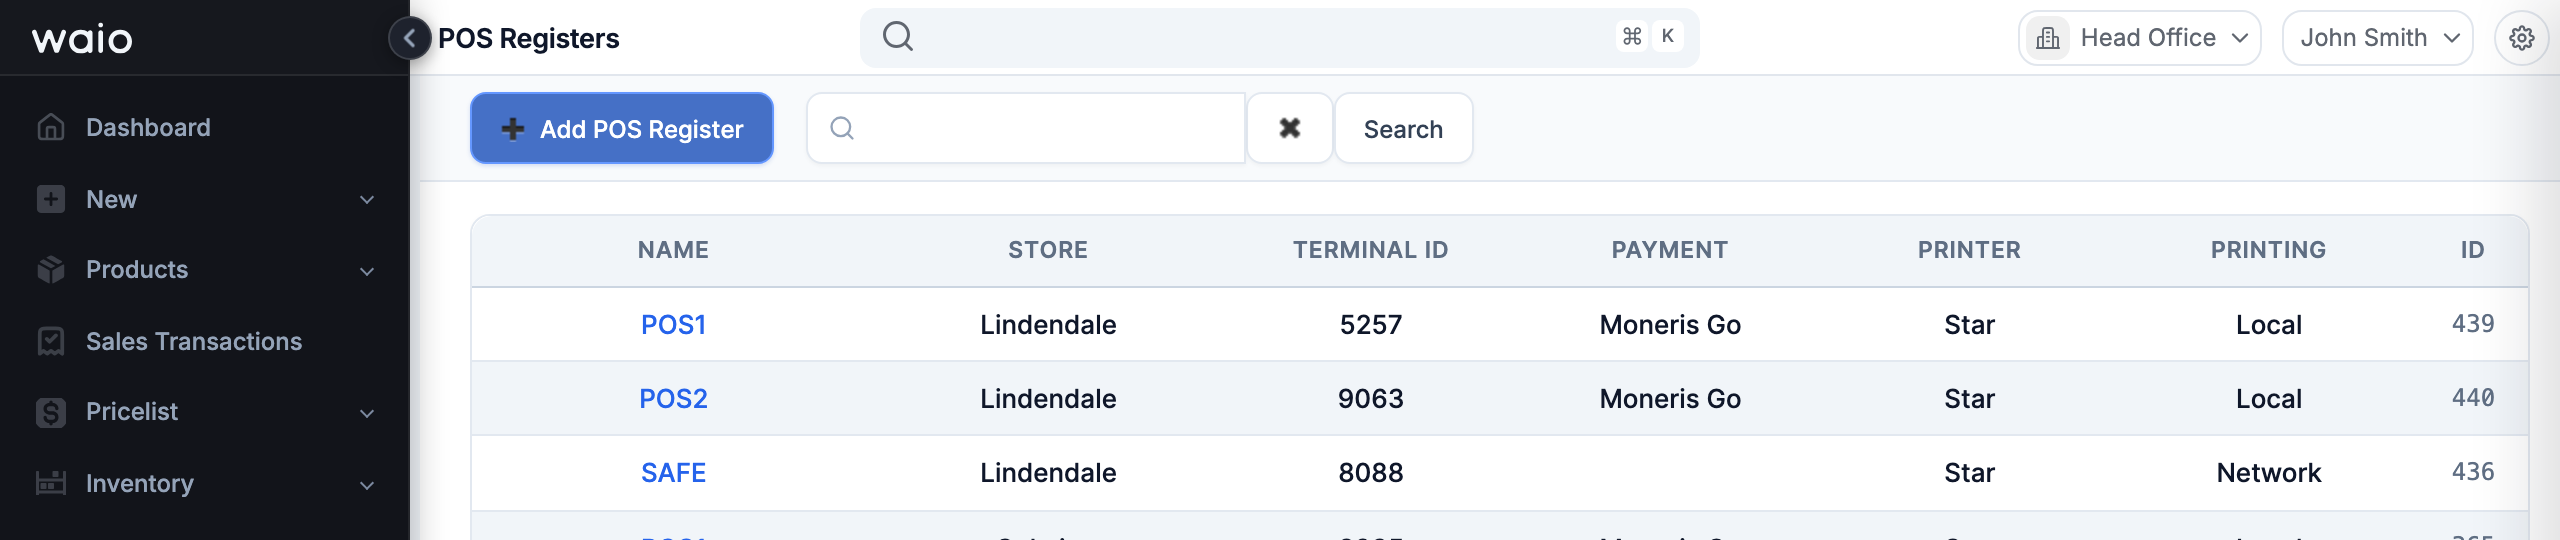
In the portal, open the gear menu, then POS Registers. The Printing column shows Local or Network for each register.
-
Click the register’s name and check:
- Printer type: ESCPOS for Epson and ESC/POS printers, Star for Star printers. The wrong one prints stray characters or doesn’t cut.
- Enable Local Printing: on (Local), the POS sends receipts to the print service on the register’s own computer. Off (Network), the server sends them.
- Use service queue for printing: only used when Enable Local Printing is off.
If another register at the store prints, compare the two. Click Save changes.
-
If you changed Enable Local Printing, tap the store name at the top right of the POS and pick the register again. The POS keeps the old setting until you do.
Still not printing
Section titled “Still not printing”- Contact WAIO support with the store, the register’s name, the printer model, what the self-test did, and what the POS said when you reprinted.